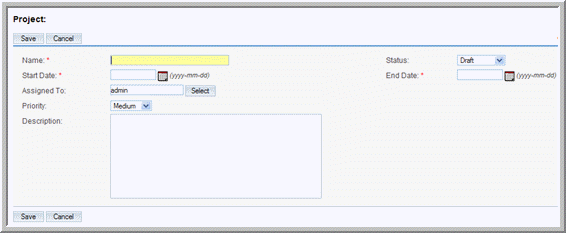
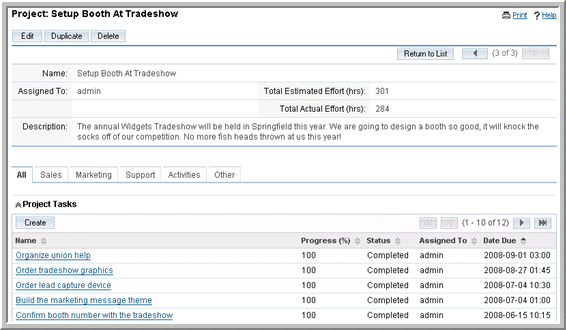
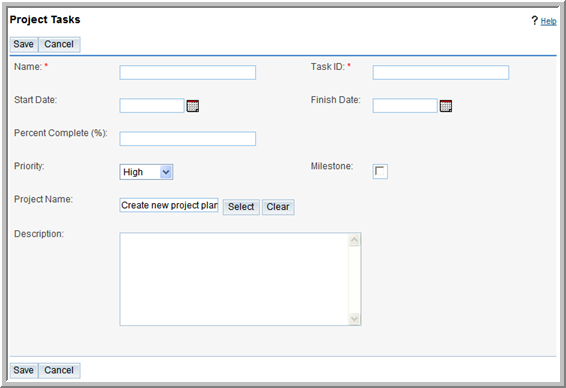
Every project is assigned to a user. The assigned user is the project manager. By default, this is the user who created the project. The assigned user can assign the project to another user or.You can define multiple project tasks for each project. When you create a project task, you must associate it with a project. You can associate a project with multiple activities, accounts, opportunities, and cases. You can also create projects and project tasks from an email’s detail page.
1.
2. On the Projects page, enter information for the following fields:Name. Enter a name for the project.Status. From the drop-down list, select the project status such as Draft, In Review, or Published.Start Date. Click the Calendar icon and select the project start date.End Date. Click the Calendar icon and select the project end date.Assigned to. Enter the name of the user who has ownership of the project. By default it is assigned to you.Priority. From the drop-down list, select the importance of the project such as Low, Medium, or High.Description. Enter a brief description of the project.
3.
1.
2. On the Project Tasks page, enter information for the following fields:Name. Enter a name for the task.Task ID. Enter a numerical value as the task identification number.Start Date. Click the Calendar icon and select the date when the task is due to begin.Finish Date. Click the Calendar icon and select a date when the task is due to be completed; enter the start time in the adjoining field.Percentage Complete. Enter a numerical value to indicate what percentage of the task has been completed.Priority. From the drop-down list, select a priority level that reflects the importance of completing this task.Milestone. Check this box if the completion on this task is considered a milestone for project completion.Project Name. Click Select and choose the project associated with the task.Description. Enter a brief description of the task.
3. Click Save to create the task; click Cancel to return to the project detail page without creating the task.
• To sort the list view on the Projects Home page, click any column title which has the
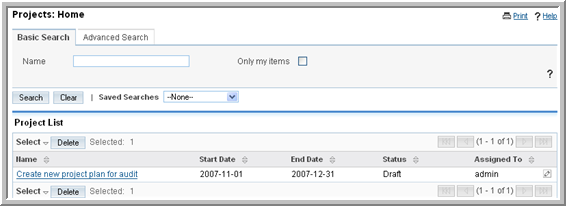
icon beside it; to reverse the sort order, click the column title again.
• To update or delete some or all of the projects on the Projects Home page, use the Mass Update panel as described in “To edit or delete multiple records” on page 19.
• To edit the project details, click Edit on the project’s detail page, make the necessary changes, and click Save.
Copyright 2004-2009 SugarCRM Inc.
Sugar Express License